Groundbreaking Glow: Simple Steps to Flawless Floor Restoration
Have you ever walked into a room captivated by the stunning shine of a beautifully restored floor? There's something about a well-maintained floor that can breathe new life into a space. In this blog, we'll guide you through simple yet effective steps to restore your floors to their former glory, making them a centerpiece of your home or office.
1. Identify Your Floor Type
The first step in floor restoration is identifying what type of floor you have. Different materials – hardwood, tile, concrete, or linoleum – require different care techniques. For example, what works for a hardwood floor may not suit a tiled floor. Knowing your floor type is essential for choosing a suitable restoration method.
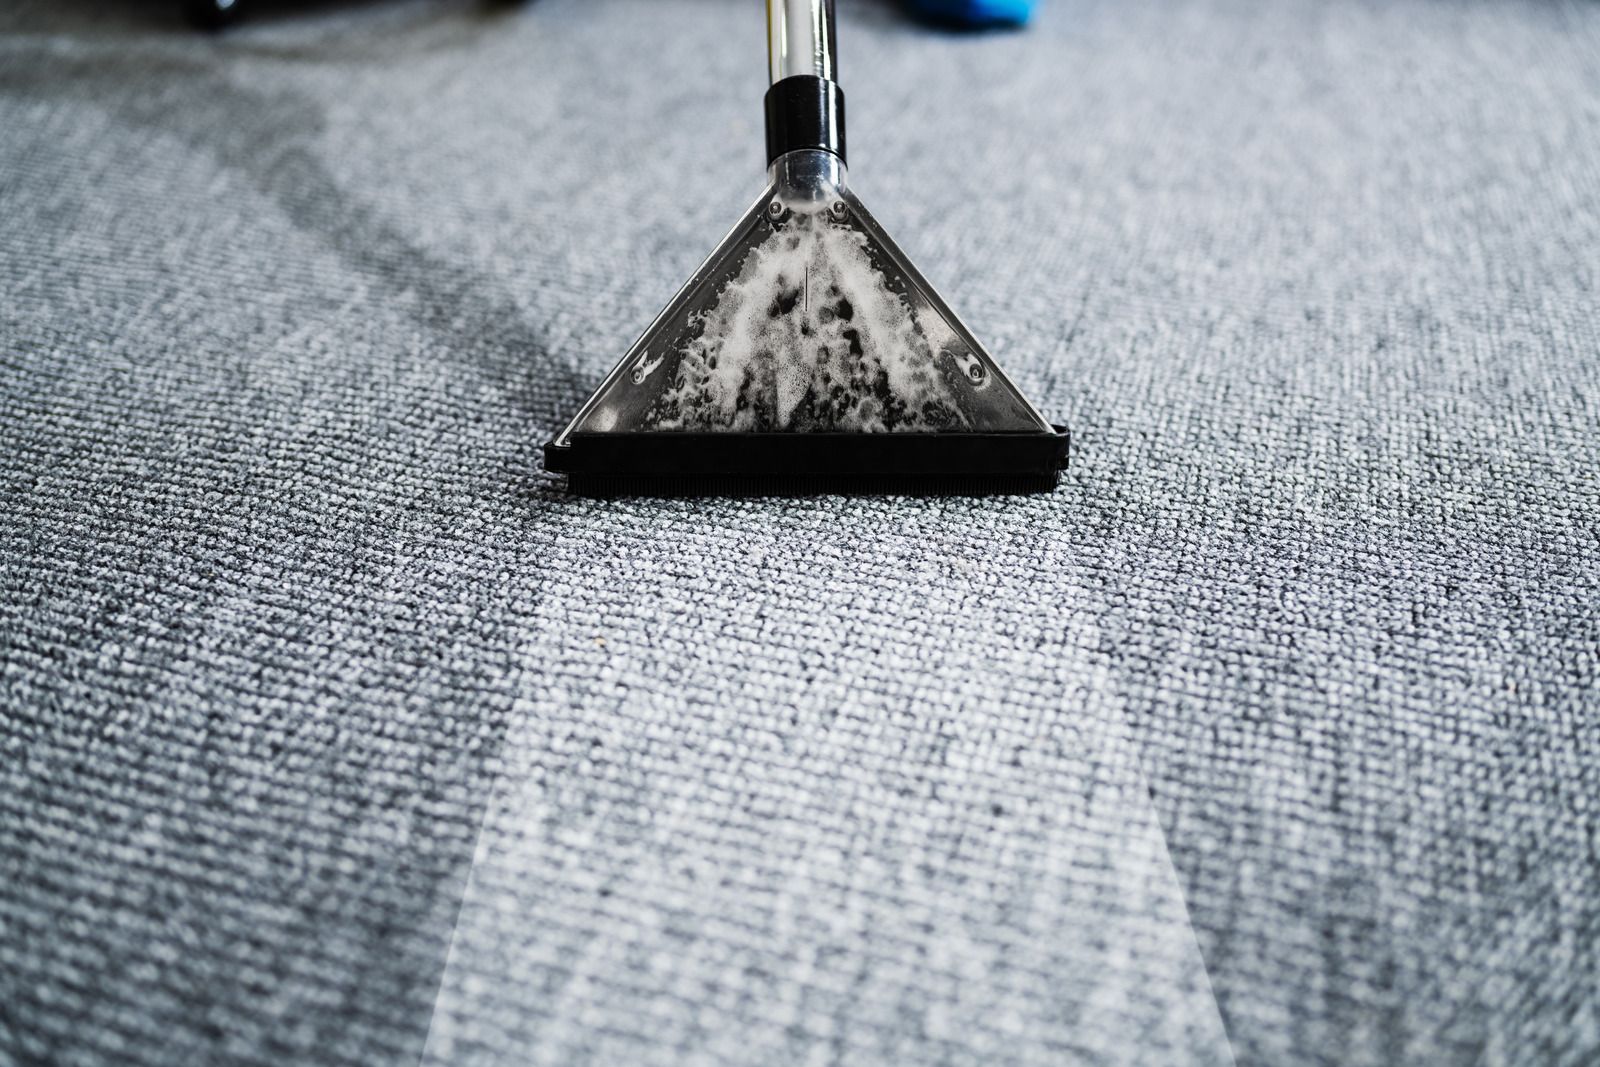
2. Clean the Floor Thoroughly
Start with a thorough cleaning. Remove all dust, dirt, and grime using a vacuum cleaner, broom, or mop suitable for your floor type. For stubborn stains, use a cleaner formulated for your specific floor material. Ensure the floor is completely clean before moving on to the next step.
3. Repair Any Damage
Inspect the floor for damage, such as scratches, dents, or cracks. Use wood filler for hardwood, grout for tiles, or appropriate fillers for other materials. Ensure all repairs are thoroughly dried and sanded down to be flush with the floor's surface.
4. Sanding for Hardwood Floors
If you have hardwood floors, sanding is a crucial step. It removes the old finish, evens the surface, and prepares it for a new coat of stain or sealer. Use a floor sander for large areas and hand sand for corners and edges. Always sand in the direction of the wood grain.
5. Choose the Right Stain or Sealer
Selecting the right stain or sealer is critical for achieving the desired look. For hardwood, there are a variety of stains and sealers to choose from. Test the product on a small, inconspicuous area first to ensure you're happy with the appearance.
6. Apply Stain or Sealer Evenly
Apply your chosen stain or sealer evenly across the floor. Use a brush or roller and work in manageable sections. Follow the manufacturer's instructions regarding drying time before applying additional coats. Usually, two to three coats are sufficient for a long-lasting finish.
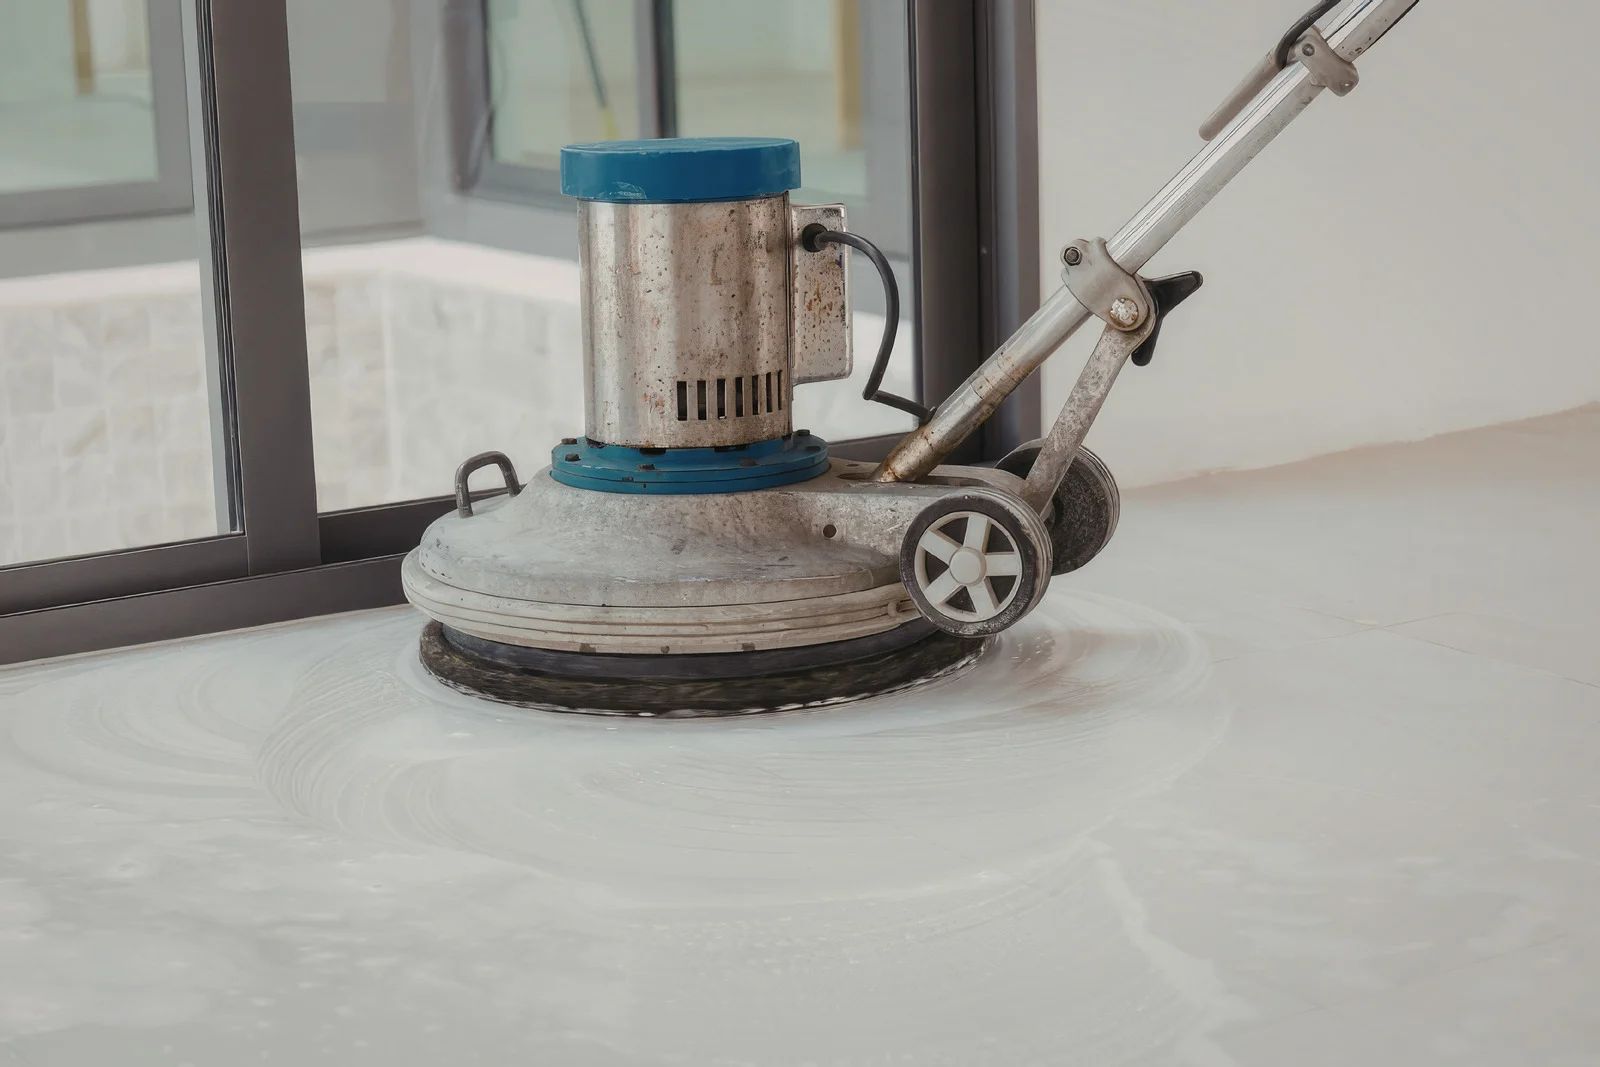
7. Buffing and Polishing
Once the stain or sealer is dry, buff the floor to a shine. For hardwood floors, use a buffing machine for best results. For tiles or linoleum, a polish can restore shine and add a layer of protection.
8. Regular Maintenance
After restoring your floor, regular maintenance is critical to keeping it looking its best. Sweep or vacuum regularly to remove dust and dirt. Clean spills immediately to prevent stains, and use mats or rugs in high-traffic areas to reduce wear.
9. Avoid Harsh Chemicals
Avoid harsh chemicals or abrasive cleaners, which can damage the floor's finish. Use cleaning products recommended for your specific floor type, and avoid excessive water, especially on wood floors.
10. Professional Assistance for Complex Tasks
Consider hiring a professional for complex tasks, such as restoring severely damaged floors or floors made of sensitive materials. They have the expertise and equipment to handle the job efficiently and effectively.
Final Words
Floor restoration
is a rewarding process that can dramatically enhance the look of your space. You can achieve flawless floor restoration by identifying your floor type, cleaning thoroughly, repairing damage, and applying the right finish. Regular maintenance and careful cleaning will keep your floors looking beautiful for years. Remember, a well-restored floor not only adds aesthetic appeal but also increases the value of your property. So, roll up your sleeves and get ready to give your floors the groundbreaking glow they deserve!